
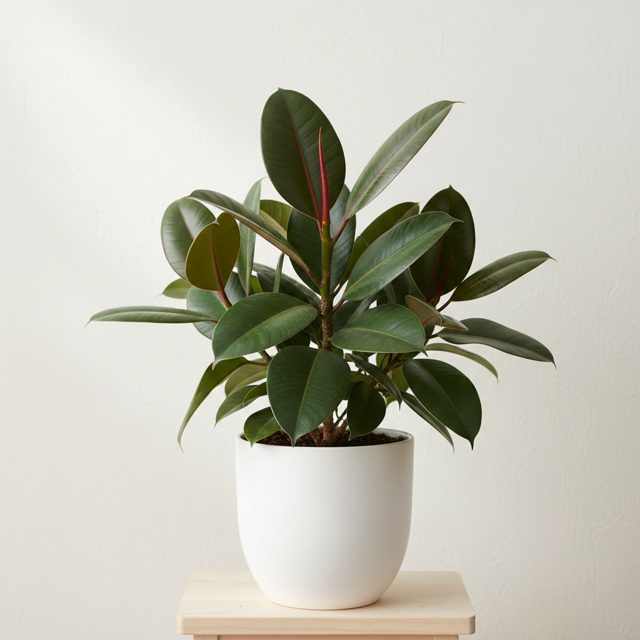
Repotting is a crucial step in the life of many houseplants, offering them fresh nutrients, more space to grow, and a chance to thrive. However, the thought of disturbing a perfectly happy plant can be intimidating, often leading to procrastination or, worse, mistakes that harm your leafy companion. This guide will walk you through the process, ensuring your repotting efforts lead to a healthier, happier plant, not a trip to the compost bin.
Recognizing When It's Time to Repot
Before you even think about grabbing a new pot, you need to be sure your plant genuinely needs repotting. Not all plants require annual repotting, and some prefer being a little root-bound. Look for clear signs that indicate your plant has outgrown its current home.
Common indicators include roots growing out of the drainage holes, roots circling tightly at the top of the soil, water running straight through the pot without being absorbed, stunted growth despite regular feeding and watering, and the plant becoming top-heavy and unstable. If you gently slide the plant out of its pot and the root ball is a dense, tangled mass with little soil visible, it's definitely time for an upgrade. Conversely, if there's still plenty of loose soil and the roots haven't colonized the pot's interior, hold off for a bit longer.
Gathering Your Supplies
Preparation is key to a smooth repotting experience. Having everything you need within arm's reach minimizes stress for both you and your plant. You'll need a new pot, fresh potting mix, clean pruning shears or scissors, a trowel or small scoop, gloves (optional, but recommended for prickly plants or sensitive skin), and a watering can.
Choose a new pot that is only one to two inches larger in diameter than the current one. Going too big can lead to root rot because the excess soil retains too much moisture for the roots to absorb. Ensure the new pot has drainage holes – this is non-negotiable for houseplant health. Select a potting mix appropriate for your plant type; a general-purpose houseplant mix works for most, but succulents, orchids, or acid-loving plants will require specialized blends. Make sure your tools are clean to prevent the spread of diseases.
Preparing the Plant and Pot
Water your plant thoroughly a day or two before repotting. This hydrates the plant, making it more resilient to the transplant shock and also makes it easier to remove from its old pot. Avoid watering immediately before, as wet soil can be messy and heavy.
Add a layer of your fresh potting mix to the bottom of the new pot. The amount depends on the size of your plant's root ball and the height of the new pot. The goal is for the top of the root ball to be about an inch below the rim of the new pot, leaving space for watering. Do not add gravel or pottery shards to the bottom of the pot, as this does not improve drainage and can actually create a perched water table, which is detrimental to root health.
The Repotting Process: Gentle Does It
Carefully remove your plant from its old pot. For plastic pots, you can often squeeze the sides and gently pull the plant out by the base of its stem. For terracotta or ceramic pots, you might need to run a thin knife along the inside edge to loosen the soil. If it's stubborn, lay the pot on its side and gently tap the rim on a firm surface while pulling.
Once out, gently loosen the roots at the bottom and sides of the root ball. You can use your fingers or a small tool to tease them apart. If the roots are heavily matted, you may need to make a few vertical cuts with your clean shears to encourage new growth. Remove any circling, dead, or mushy roots. This is also a good time to remove any old, depleted soil from the top and sides of the root ball, replacing it with fresh mix.
Center the plant in the new pot, ensuring its original soil line is maintained. Fill around the root ball with fresh potting mix, gently tamping it down to remove large air pockets. Don't compact the soil too tightly, as roots need air. Leave that one-inch space from the soil surface to the rim for watering.
Post-Repotting Care: Easing the Transition
After repotting, thoroughly water your plant until water drains from the bottom. This settles the new soil around the roots and eliminates any remaining air pockets. Place your newly repotted plant in a location where it receives its usual light, but avoid direct, harsh sunlight for a week or two, as this can add to transplant shock.
Expect your plant to show some signs of stress, such as temporary wilting or yellowing leaves. This is normal and usually resolves as the plant adjusts to its new environment. Resist the urge to fertilize immediately; wait at least four to six weeks, as the fresh potting mix contains enough nutrients. Continue to monitor its watering needs, as the new pot and soil might change how quickly it dries out. PlantBetter can help you set watering reminders to ensure your plant gets the right amount of hydration as it settles in.
Common Repotting Mistakes to Avoid
One of the biggest mistakes is choosing a pot that's too large. As mentioned, this can lead to waterlogged soil and root rot. Another error is failing to loosen the root ball; leaving it compacted prevents roots from expanding into the new soil. Over-compacting the new soil is also detrimental, as it stifles root growth and reduces aeration.
Forgetting drainage holes is a surefire way to kill a plant. Even if you're using a cachepot, the inner pot must have drainage. Repotting a stressed or unhealthy plant can worsen its condition; ensure your plant is healthy before undergoing the stress of a repot. Lastly, immediate fertilization or exposure to extreme conditions can overwhelm a plant already recovering from the move. Patience and observation are your best tools in the weeks following repotting.
Key takeaway
Repotting your houseplants doesn't have to be a scary task; by following these careful steps, you can provide your plants with the fresh start they need to flourish. With a little preparation and gentle handling, your green companions will quickly bounce back and continue to thrive in their upgraded homes.
Let PlantBetter help
PlantBetter identifies your plant from a photo and builds a care plan with reminders, so you always know what it needs next.