
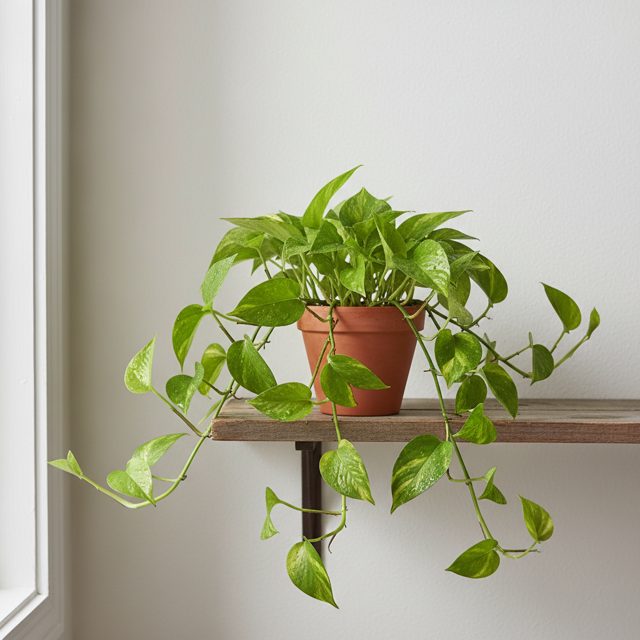
Transforming a single plant into a thriving collection might sound like a magic trick, but it's a fundamental process called propagation. For aspiring plant parents and seasoned enthusiasts alike, water propagation stands out as one of the most accessible and visually rewarding methods. This beginner's guide will walk you through every step, helping you expand your indoor jungle with ease and confidence.
Why Choose Water Propagation?
Water propagation offers several advantages, especially for those new to plant reproduction. Firstly, it's incredibly simple; you don't need special equipment or soil. All you truly need is a cutting, a clean jar, and water. Secondly, it allows you to visually monitor root development, providing a fascinating real-time view of your plant's growth. This transparency can be incredibly encouraging and educational.
Beyond its simplicity, water propagation is often a cleaner process than soil propagation, minimizing mess and pests. It's also a fantastic way to 'rescue' leggy or overgrown plants, giving them a new lease on life. Plus, it’s an economical way to multiply your favorite plants or share them with friends, turning one beloved specimen into many.
Which Plants Propagate Best in Water?
While many plants can be propagated in water, some are particularly well-suited for beginners due to their high success rates and vigorous rooting. Knowing which plants to start with can significantly boost your confidence and reduce frustration.
Some of the most popular and easiest plants for water propagation include Pothos (Epipremnum aureum), Philodendron (various species), Spider Plants (Chlorophytum comosum), Monstera (Monstera deliciosa, Monstera adansonii), Coleus, Swedish Ivy (Plectranthus verticillatus), Tradescantia (Wandering Jew), and many types of Hoyas. Succulents like Sedum and Echeveria can also be rooted in water, though they often prefer a drier method once roots appear. If you're unsure about a specific plant, a quick search or using the PlantBetter app to identify your plant can provide insights into its propagation preferences.
Step-by-Step: Taking Your Cutting
The success of your propagation journey begins with selecting and taking a healthy cutting. This crucial step sets the foundation for strong root development.
First, choose a healthy, vibrant stem on your 'mother plant' that has at least 2-3 leaves and a node. A node is a small bump on the stem where a leaf or branch grows from, and it's where new roots will emerge. Using a clean, sharp pair of scissors or a knife, make a cut just below a node. Aim for a cutting that is typically 4-6 inches long. Remove any leaves that would be submerged in water, as these will rot and contaminate your water. Ensure your cutting has at least one node above the water line with leaves, and one or more nodes below the water line, ready to sprout roots. Clean tools prevent disease transmission, so always sterilize your blades with rubbing alcohol before cutting.
- Select a healthy stem with 2-3 leaves.
- Locate a node (where a leaf or branch emerges).
- Cut 4-6 inches long, just below a node.
- Remove any leaves that would be submerged in water.
- Use clean, sharp scissors or a knife.
Setting Up Your Water Propagation Station
Once you have your cuttings, setting up their new temporary home is straightforward. The right container and water are key to encouraging root growth.
Choose a clean glass jar, vase, or bottle. Clear containers are ideal because they allow you to observe root development and easily monitor water levels and clarity. Place your cutting(s) in the container, ensuring that the node(s) from which you want roots to grow are fully submerged in water, but no leaves are touching the water. Fill the container with room-temperature filtered water, rainwater, or tap water that has been left out for 24 hours to allow chlorine to dissipate. Avoid distilled water as it lacks essential minerals.
- Use a clean, clear glass container.
- Ensure nodes are submerged, leaves are above water.
- Use room-temperature filtered or dechlorinated tap water.
- Avoid distilled water.
Care and Patience: Watching Roots Grow
Water propagation is a test of patience, but the rewards are well worth the wait. Proper care during this phase ensures strong, healthy roots.
Place your propagation station in a location that receives bright, indirect light. Avoid direct sunlight, which can overheat the water and stress the cuttings. Change the water every 3-5 days, or whenever it appears cloudy, to prevent bacterial growth and replenish oxygen. You might also add a tiny amount of liquid plant food designed for houseplants, but this is optional and should be done sparingly. Depending on the plant species, roots can appear anywhere from a few days to several weeks. Be patient; some plants are slower than others. Once roots are about 1-2 inches long and have developed secondary roots, your plant is ready for the next step.
- Place in bright, indirect light.
- Change water every 3-5 days or when cloudy.
- Optionally, add a tiny amount of liquid plant food.
- Wait for roots to reach 1-2 inches with secondary roots.
Transitioning to Soil: The Final Step
After weeks of nurturing, your water-rooted cutting is ready for its permanent home. This transition needs to be handled with care to avoid shocking the new plant.
Prepare a small pot (about 4-6 inches in diameter) with well-draining potting mix. Create a small hole in the center of the soil. Carefully remove your rooted cutting from the water, place its roots gently into the hole, and backfill with soil, lightly tamping it down to secure the plant. Water thoroughly after planting. For the first few weeks, keep the soil consistently moist but not waterlogged, as the roots are accustomed to a water-rich environment. Gradually reduce watering frequency as the plant acclimates to its new soil home. Place the newly potted plant in a spot with similar light conditions to where it rooted in water. Over time, it will develop a robust root system adapted to soil, thriving as an independent plant.
- Prepare a small pot with well-draining potting mix.
- Carefully transfer the rooted cutting to the soil.
- Water thoroughly after potting.
- Keep soil consistently moist for the first few weeks.
- Gradually adjust watering as the plant acclimates.
- Maintain similar light conditions.
Troubleshooting Common Water Propagation Issues
Even with the best intentions, you might encounter a few hurdles along the way. Knowing how to address them can save your precious cuttings.
If your cuttings are rotting, it's often due to submerged leaves or infrequent water changes. Remove any decaying parts, change the water, and ensure only stems and nodes are underwater. If no roots are forming, your cutting might not have a node, or it might be a plant that simply doesn't root well in water (though less common for the ones we recommended). Ensure adequate light and warmth, as cooler temperatures can slow root development. Sometimes, a cutting just needs more time. Don't give up too soon! Consistency in water changes and light exposure are your best friends in successful propagation. Remember, the PlantBetter app can help you identify any specific plant issues if you're ever in doubt, and even set reminders for when to change your propagation water or water your newly potted plants.
Key takeaway
Water propagation is a simple, effective, and fascinating way to grow your plant collection. With a little patience and attention to detail, you'll be successfully multiplying your favorite green companions in no time.
Let PlantBetter help
PlantBetter identifies your plant from a photo and builds a care plan with reminders, so you always know what it needs next.